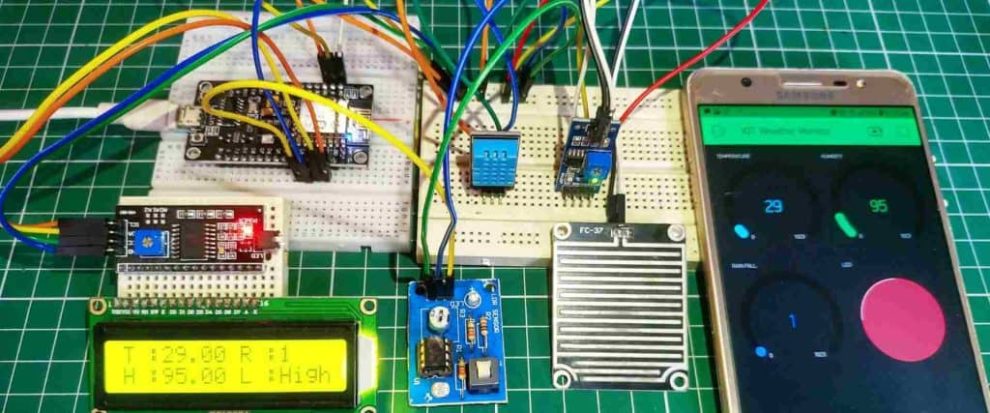
The Internet of Things (IoT) is rapidly transforming our world by connecting everyday objects to the internet, unlocking waves of innovation. Whether you envision a smart home adapting to your needs or an interconnected industrial system optimizing efficiency, prototyping your ideas is crucial before implementation.
Thanks to affordable and versatile platforms like Arduino and Raspberry Pi, creating functional IoT prototypes is now within reach for everyone, not just engineering teams with big budgets.
Why Arduino and Raspberry Pi Are Ideal for IoT Prototyping
Both Arduino and Raspberry Pi boast unique strengths making them perfect for building cost-effective IoT prototypes:
Arduino
- Simplicity: Beginner-friendly programming and vast online community resources.
- Microcontroller: Lightweight and efficient for battery-powered applications.
- Sensors & Actuators: Easy integration with temperature, light, motion and more.
- Affordability: Entry-level boards like the Arduino Uno are highly affordable.
Raspberry Pi
- Versatile Computer: Runs full Linux OS, enabling complex tasks and data processing.
- Connectivity: Built-in Wi-Fi, Bluetooth, Ethernet for communication.
- Cloud Capabilities: Connects to cloud platforms for remote access and control.
- Flexible Programming: Supports various languages like Python and frameworks.
Choosing the Right Platform
Deciding between Arduino and Raspberry Pi depends on your project’s specific needs. Consider these key factors:
Complexity
For simple sensor readings and control tasks, Arduino is ideal. For advanced data processing and cloud integration, Raspberry Pi is preferable.
Power Consumption
Battery-powered projects favor Arduino’s efficiency, while Raspberry Pi needs a steady power source.
Connectivity Requirements
If Wi-Fi, Bluetooth or Ethernet connectivity are crucial, Raspberry Pi is likely the better option.
Step-by-Step Guide to Prototyping Your IoT Idea
Now, let’s explore the exciting process of bringing your IoT vision to life!
1. Define Your IoT Project
- Identify the specific problem you aim to solve. What value does your IoT device offer?
- Outline the core functionalities. What data will it collect and what actions will it perform?
- Sketch out user interactions. How will users control and interface with your device?
2. Select Your Prototyping Hardware
- Choose your platform: Arduino or Raspberry Pi based on factors above.
- Pick suitable sensors and actuators matched to your data and action requirements.
- Plan your power supply source: battery or AC power depending on mobility needs.
3. Learn Relevant Programming Skills
- Learn the basics of Arduino C++ or Python for Raspberry Pi. Online tutorials and communities can help tremendously!
- Start simple and gradually increase complexity. Don’t hesitate to experiment and ask questions.
4. Connect Components & Write Code
- Wire your sensors, actuators and power supply to your chosen platform. Follow schematics and wiring guides.
- Write code to collect sensor data, process it, and control components based on your project’s logic. Leverage existing code libraries and snippets.
5. Rigorously Test & Iterate
- Test each hardware component individually then the integrated system. Identify and fix any issues.
- Gather feedback from potential users and refine your prototype to match their needs.
- Continuously iterate and improve your prototype until it aligns with your original vision.
Tips for Cost-Effective IoT Prototyping
Here are some additional tips for keeping your prototyping budget lean:
- Repurpose materials: Use recycled containers, wires and components for non-critical parts.
- Start small: Build features incrementally to manage complexity.
- Leverage open-source: Numerous code libraries and online communities can assist you.
- Explore free cloud tiers: Some platforms offer limited free resources for testing.
Embrace the IoT Prototyping Journey
Remember, prototyping is all about validating your idea and learning. Don’t fear challenges that arise. With Arduino, Raspberry Pi and a bit of resourcefulness, you can turn your connected dreams into reality.
So start prototyping today and unleash your inner innovator!


Add Comment