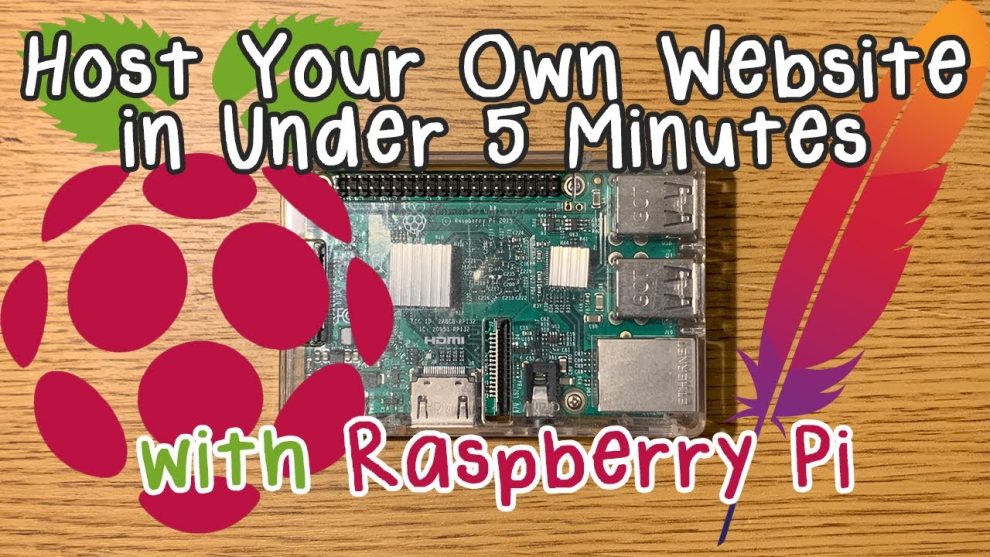
Hosting your own website or blog on a Raspberry Pi is a fun and rewarding project, offering both learning opportunities and control over your online presence. Here’s a complete guide to get you started:
Hardware Requirements
- Raspberry Pi (any model with sufficient RAM and storage will work)
- MicroSD card (at least 8GB, preferably 16GB or more)
- Power supply and cables
- Ethernet cable (optional, can also use Wi-Fi)
- Keyboard, mouse, and monitor (for initial setup)
Software Requirements
- Operating system: Raspbian (recommended for beginners)
- Web server: Apache, Nginx (choose one)
- PHP (if your website uses dynamic content)
- Database (optional, for complex websites: MySQL)
- Text editor (Nano, Vim, or any preferred editor)
Steps to Host a Website on Raspberry Pi
1. Set up your Raspberry Pi
- Download and install Raspbian on your MicroSD card using tools like Etcher or Raspberry Pi Imager.
- Boot your Raspberry Pi, configure network settings, and update the system.
- Familiarize yourself with basic Linux commands through tutorials or resources like Raspberry Pi documentation.
2. Install the web server
- Use the command line to install Apache or Nginx based on your preference.
- Configure the web server to serve your website files from a specific directory (e.g.,
/var/www/html).
3. Set up PHP (if needed)
- Install PHP and any required modules using the command line.
- Configure PHP to work with your web server for dynamic content.
4. Create your website content
- Use HTML, CSS, and JavaScript to create static web pages, or explore content management systems (CMS) like WordPress for easier management.
- Save your files in the web server’s document directory.
5. Configure domain name and DNS (optional)
- Register a domain name or use a free service like DuckDNS.
- Configure your domain name to point to your Raspberry Pi’s IP address using DNS settings.
6. Test and access your website
- Open a web browser on a different device connected to the same network as your Raspberry Pi.
- Type in your domain name or your Raspberry Pi’s IP address followed by “:80” (default port for web servers) to access your website.
Additional Tips
- Secure your website with SSL/TLS encryption using Let’s Encrypt or similar services.
- Keep your software updated for security and performance.
- Consider using reverse proxy like Nginx for improved security and performance.
- Explore tools like Docker for easier setup and management of complex web applications.
- Utilize resources like Raspberry Pi documentation, online tutorials, and forums for troubleshooting and learning.
Remember, hosting your own website requires ongoing maintenance and technical knowledge. Start with a simple website and gradually increase complexity as you gain experience. Enjoy the hands-on learning and the satisfaction of having your own online space!


Add Comment