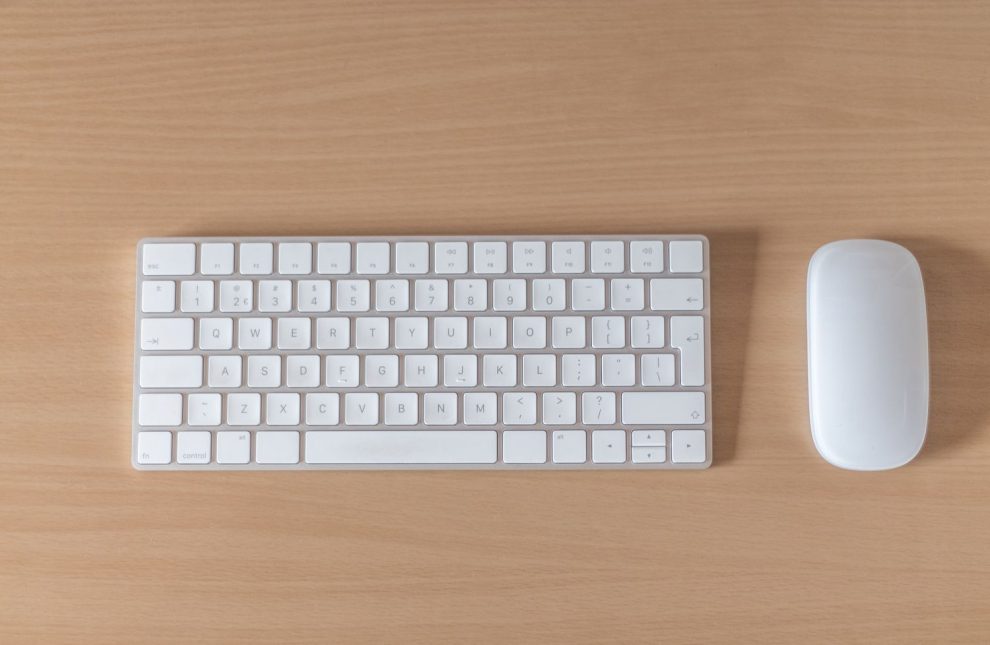
Adding a wireless mouse and keyboard to your laptop setup can greatly improve your productivity and experience. By eliminating the cords and wires, you gain more flexibility and range of motion when using your laptop. However, before you can enjoy these benefits, you first need to connect your wireless peripherals to your laptop.
In this guide, I’ll walk you through the complete process of connecting both wireless mouse and keyboard to a laptop. I’ll cover the key steps for both Bluetooth and USB receiver connections. By the end, you’ll know exactly how to pair your devices wirelessly and start using them with your portable setup.
Check Your Wireless Mouse and Keyboard Equipment
Before attempting to connect your wireless mouse and keyboard, take a minute to check that you have all the right equipment and it’s ready to pair up:
1. Identify the Connection Type
The first thing you need to know is whether your wireless mouse and keyboard connect via Bluetooth or a USB receiver. Here’s how to tell:
- Bluetooth – Most modern wireless mice and keyboards use Bluetooth to connect wirelessly. This is the technology that also allows you to pair wireless headphones and speakers. Bluetooth devices do not need a separate USB receiver.
- USB receiver – Some older or cheaper wireless mice and keyboards come with a small USB receiver. You plug this receiver into your laptop’s USB port to allow the mouse and keyboard to connect.
Check your mouse and keyboard thoroughly and any included accessories or documents to identify if they are Bluetooth or USB receiver models.
2. Install Required Batteries
Wireless mice and keyboards run on battery power, so you need to make sure they have fresh batteries installed before attempting to pair them. Replace old or dead batteries with new ones from the manufacturer’s recommendations. Having properly powered batteries is important for establishing a strong and reliable wireless connection.
How to Connect a Wireless Mouse and Keyboard via Bluetooth
If your wireless mouse and keyboard connect using Bluetooth, follow this process to pair them to your Windows or Mac laptop:
1. Enable Bluetooth on Your Laptop
First, you need to turn on your laptop’s Bluetooth so it can discover and connect to Bluetooth devices:
- Windows – Open the Start Menu and go to Settings > Devices > Bluetooth and other devices. Turn on the Bluetooth toggle switch.
- Mac – Click the Apple menu icon and choose System Preferences > Bluetooth. Check the box next to “Bluetooth” to enable it.
2. Put Mouse and Keyboard in Pairing Mode
Next, you need to make your wireless devices discoverable so your laptop can find them:
- Mouse – Press and hold the pairing button on the bottom of the mouse until it enters pairing mode. An LED will usually flash to indicate this.
- Keyboard – Press the pairing key combination specific to your keyboard model. Often it’s FN + a function key like F1. Refer to manual.
3. Search for Bluetooth Devices on Your Laptop
Now go back to your laptop’s Bluetooth settings and look for new available Bluetooth devices:
- Windows – Go to Add Bluetooth or other device > Bluetooth. Click “Add device” and Windows will search.
- Mac – Click the “+” icon to search for nearby Bluetooth devices.
Your unpaired wireless mouse and keyboard should both appear in this list of discovered Bluetooth devices.
4. Select and Pair the Devices
Finally, select your mouse and keyboard from the available Bluetooth device list to pair each one:
- Click on the device name for your wireless mouse and select Pair when prompted.
- Repeat this selection process for your wireless keyboard.
Follow any additional on-screen instructions to complete the Bluetooth pairing process for both devices. That’s it! Your mouse and keyboard are now wirelessly connected to your laptop via Bluetooth.
How to Connect a Wireless Mouse and Keyboard via USB Receiver
If your wireless mouse and keyboard did not come with Bluetooth but instead included a USB receiver, use this process to connect them:
1. Plug in the USB Receiver
Insert the wireless USB receiver into any open USB port on your laptop. Make sure it’s fully inserted.
2. Let Your Laptop Install Drivers
After inserting the USB receiver, wait a minute or two for your laptop to automatically detect it and install the required drivers/software for the wireless devices. You’ll see a notification on Windows when it’s finished.
3. Start Using Your Wireless Devices
Once the driver installation completes, your wireless mouse and keyboard should be connected and ready to use! No need to pair them like with Bluetooth devices.
The mouse and keyboard will now communicate wirelessly via the USB receiver. Just use them as normal, and remove the USB to disconnect.
Tips for Troubleshooting Wireless Mouse and Keyboard Connections
If you have any trouble getting your wireless mouse or keyboard to connect properly, here are some top troubleshooting tips:
- Consult the device manuals or manufacturer website for device-specific troubleshooting help.
- Make sure your mouse/keyboard are within range of the laptop (30 feet for Bluetooth). Move them closer.
- Check that the batteries have sufficient charge and are inserted correctly.
- On Windows, access Bluetooth settings to manage paired devices and troubleshoot issues.
- Try unpairing the device then repairing it again from scratch.
- With USB receivers, try connecting to a different USB port on your laptop.
With patience and by methodically checking each step, you should be able to resolve any connection issues that pop up. Don’t hesitate to contact the device manufacturer as well if you continue having problems.
Enjoy the Freedom of Wireless Mice and Keyboards
Connecting Bluetooth or USB wireless mice and keyboards to your laptop doesn’t have to be difficult. Following the right step-by-step process for your device type, checking equipment, and troubleshooting as needed will ensure a smooth and successful connection.
With your wireless devices paired up, you can now work and navigate your laptop from anywhere in the room without worrying about restrictive cords. This gives you much more flexibility and makes using a laptop more comfortable and enjoyable.


Add Comment