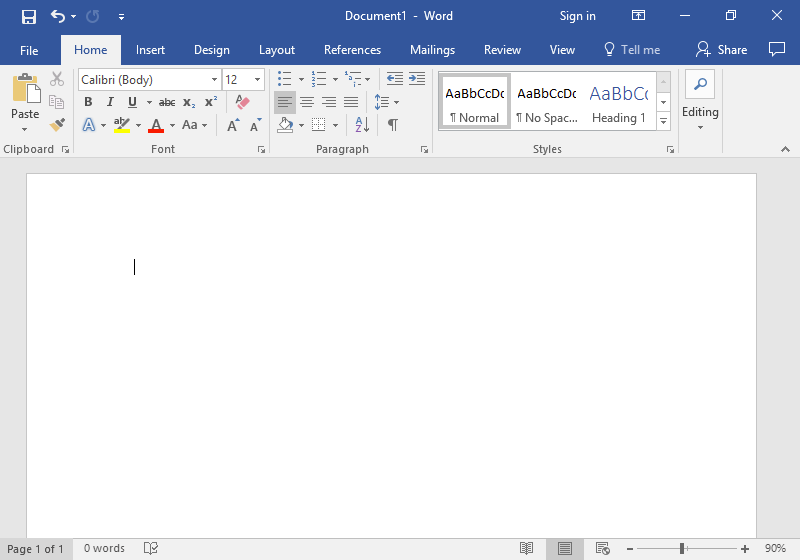
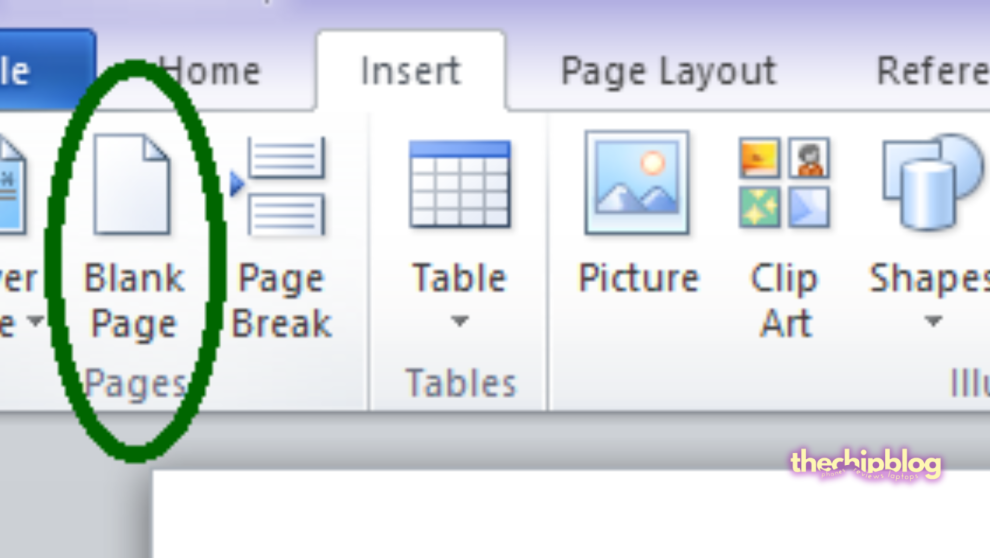
Blank pages in Word documents can be a frustrating and unsightly nuisance, disrupting the flow and professional appearance of your work. However, fear not! This comprehensive guide will provide you with a range of solutions to effectively banish those unwanted white spaces, ensuring a seamless and polished document every time.
Understanding the Causes of Blank Pages
Before diving into the solutions, it’s essential to understand the common culprits that can lead to the creation of blank pages in Word:
- Unintended Section Breaks: Accidental section breaks can cause Word to insert a blank page, disrupting the document’s flow.
- Formatting Issues: Certain formatting settings, such as page breaks or paragraph spacing, can inadvertently introduce blank pages.
- Hidden Characters: Invisible characters like spaces or tabs can accumulate and create unwanted white space, leading to blank pages.
- Page Setup Options: Incorrect page setup options, like margins or orientation, can also result in blank pages appearing.
Now that you understand the potential causes, let’s explore the solutions to eliminate those pesky blank pages.
Simple Formatting Fixes
In many cases, removing blank pages in Word can be as simple as adjusting a few formatting settings. Here are some quick fixes to try:
Check for Manual Page Breaks
- Go to the “Home” tab and click the “¶” (Show/Hide) button to display all formatting marks.
- Scroll through your document and look for the manual page break symbol (a dotted line with the word “Break” underneath).
- Delete any unnecessary manual page breaks by placing your cursor before the symbol and pressing the “Delete” key.
Adjust Paragraph Spacing
- Select the paragraphs with excessive spacing.
- Go to the “Home” tab and click the “Line and Paragraph Spacing” button.
- Adjust the spacing settings to your desired values.
Remove Blank Lines
- Go to the “Home” tab and click the “¶” (Show/Hide) button to display all formatting marks.
- Scroll through your document and look for blank lines represented by paragraph marks without any text.
- Delete these blank lines by placing your cursor before the paragraph mark and pressing the “Delete” key.
Advanced Techniques
If the simple formatting fixes don’t solve your blank page woes, don’t worry – we’ve got some more advanced techniques up our sleeves.
Check for Section Breaks
- Go to the “Home” tab and click the “¶” (Show/Hide) button to display all formatting marks.
- Scroll through your document and look for section break symbols (two parallel lines with the words “Section Break” underneath).
- Delete any unnecessary section breaks by placing your cursor before the symbol and pressing the “Delete” key.
Adjust Page Setup Options
- Go to the “Layout” tab and click the “Margins” button.
- Adjust the margin settings to your desired values.
- If the issue persists, go to the “Layout” tab and click the “Orientation” button to toggle between portrait and landscape mode.
Use the Navigation Pane
- Go to the “View” tab and click the “Navigation Pane” button (or press “Ctrl + F”).
- In the Navigation Pane, expand the “Pages” section.
- Look for any entries labeled “Blank Page” or “Empty Page.”
- Right-click on these entries and select “Delete” to remove the blank pages.
Utilize Find and Replace
- Go to the “Home” tab and click the “Replace” button (or press “Ctrl + H”).
- In the “Find what” field, enter “^m^m^m” (without quotes). This will search for three consecutive paragraph marks, which can indicate a blank page.
- Leave the “Replace with” field blank.
- Click “Replace All” to remove all instances of three consecutive paragraph marks throughout your document.
Consider Using Macros
For those comfortable with programming, macros can be a powerful solution for automating the process of deleting blank pages in Word. Here’s a simple macro that can help:
Sub RemoveBlankPages()
Dim objDoc As Document
Dim objRange As Range
Set objDoc = ActiveDocument
Set objRange = objDoc.Content
objRange.Find.ClearFormatting
objRange.Find.Replacement.ClearFormatting
With objRange.Find
.Text = “^p^p^p”
.Replacement.Text = “^p”
.Forward = True
.Wrap = wdFindContinue
.Format = False
.MatchCase = False
.MatchWholeWord = False
.MatchWildcards = True
End With
objRange.Find.Execute Replace:=wdReplaceAll
End Sub
This macro searches for three consecutive paragraph marks (^p^p^p), which indicate a blank page, and replaces them with a single paragraph mark (^p), effectively removing the blank page.

Possible Questions Related to Deleting Blank Page in Word
Will deleting blank pages affect my document’s formatting or content?
No, deleting blank pages should not affect the formatting or content of your document. However, it’s always a good practice to save a backup copy before making any significant changes, just in case.
Can I prevent blank pages from appearing in the future?
Yes, you can take some preventive measures to minimize the occurrence of blank pages in your Word documents:
- Be mindful of manually inserting page breaks or section breaks.
- Check your paragraph spacing and formatting settings regularly.
- Use the “Show/Hide” button to identify and remove any hidden characters or blank lines.
What if I accidentally delete a page with content?
If you accidentally delete a page with content, don’t panic! Word has an “Undo” feature that can help you recover your deleted text. Simply go to the “Home” tab and click the “Undo” button (or press “Ctrl + Z”) to undo your last action.
Can I delete blank pages in a PDF file using Word?
Unfortunately, Word’s functionality for deleting blank pages is limited to Word documents. If you need to remove blank pages from a PDF file, you’ll need to use a dedicated PDF editing software or online tool.
Are there any third-party tools or add-ins that can help with deleting blank pages?
Yes, there are several third-party tools and add-ins available that can assist with deleting blank pages in Word. Some popular options include:
- Remove Blank Pages (add-in)
- DocTools Lite (add-in)
- Blank Page Cleaner (third-party tool)
These tools can automate the process of identifying and removing blank pages, saving you time and effort.
Conclusion
Congratulations! By following the techniques outlined in this guide, you now possess the power to banish those pesky blank pages from your Word documents, ensuring a clean and professional appearance. Whether you opted for simple formatting fixes, advanced methods, or even ventured into the world of macros, you’ve equipped yourself with the knowledge to conquer blank page woes and achieve a clutter-free Word experience.


Add Comment