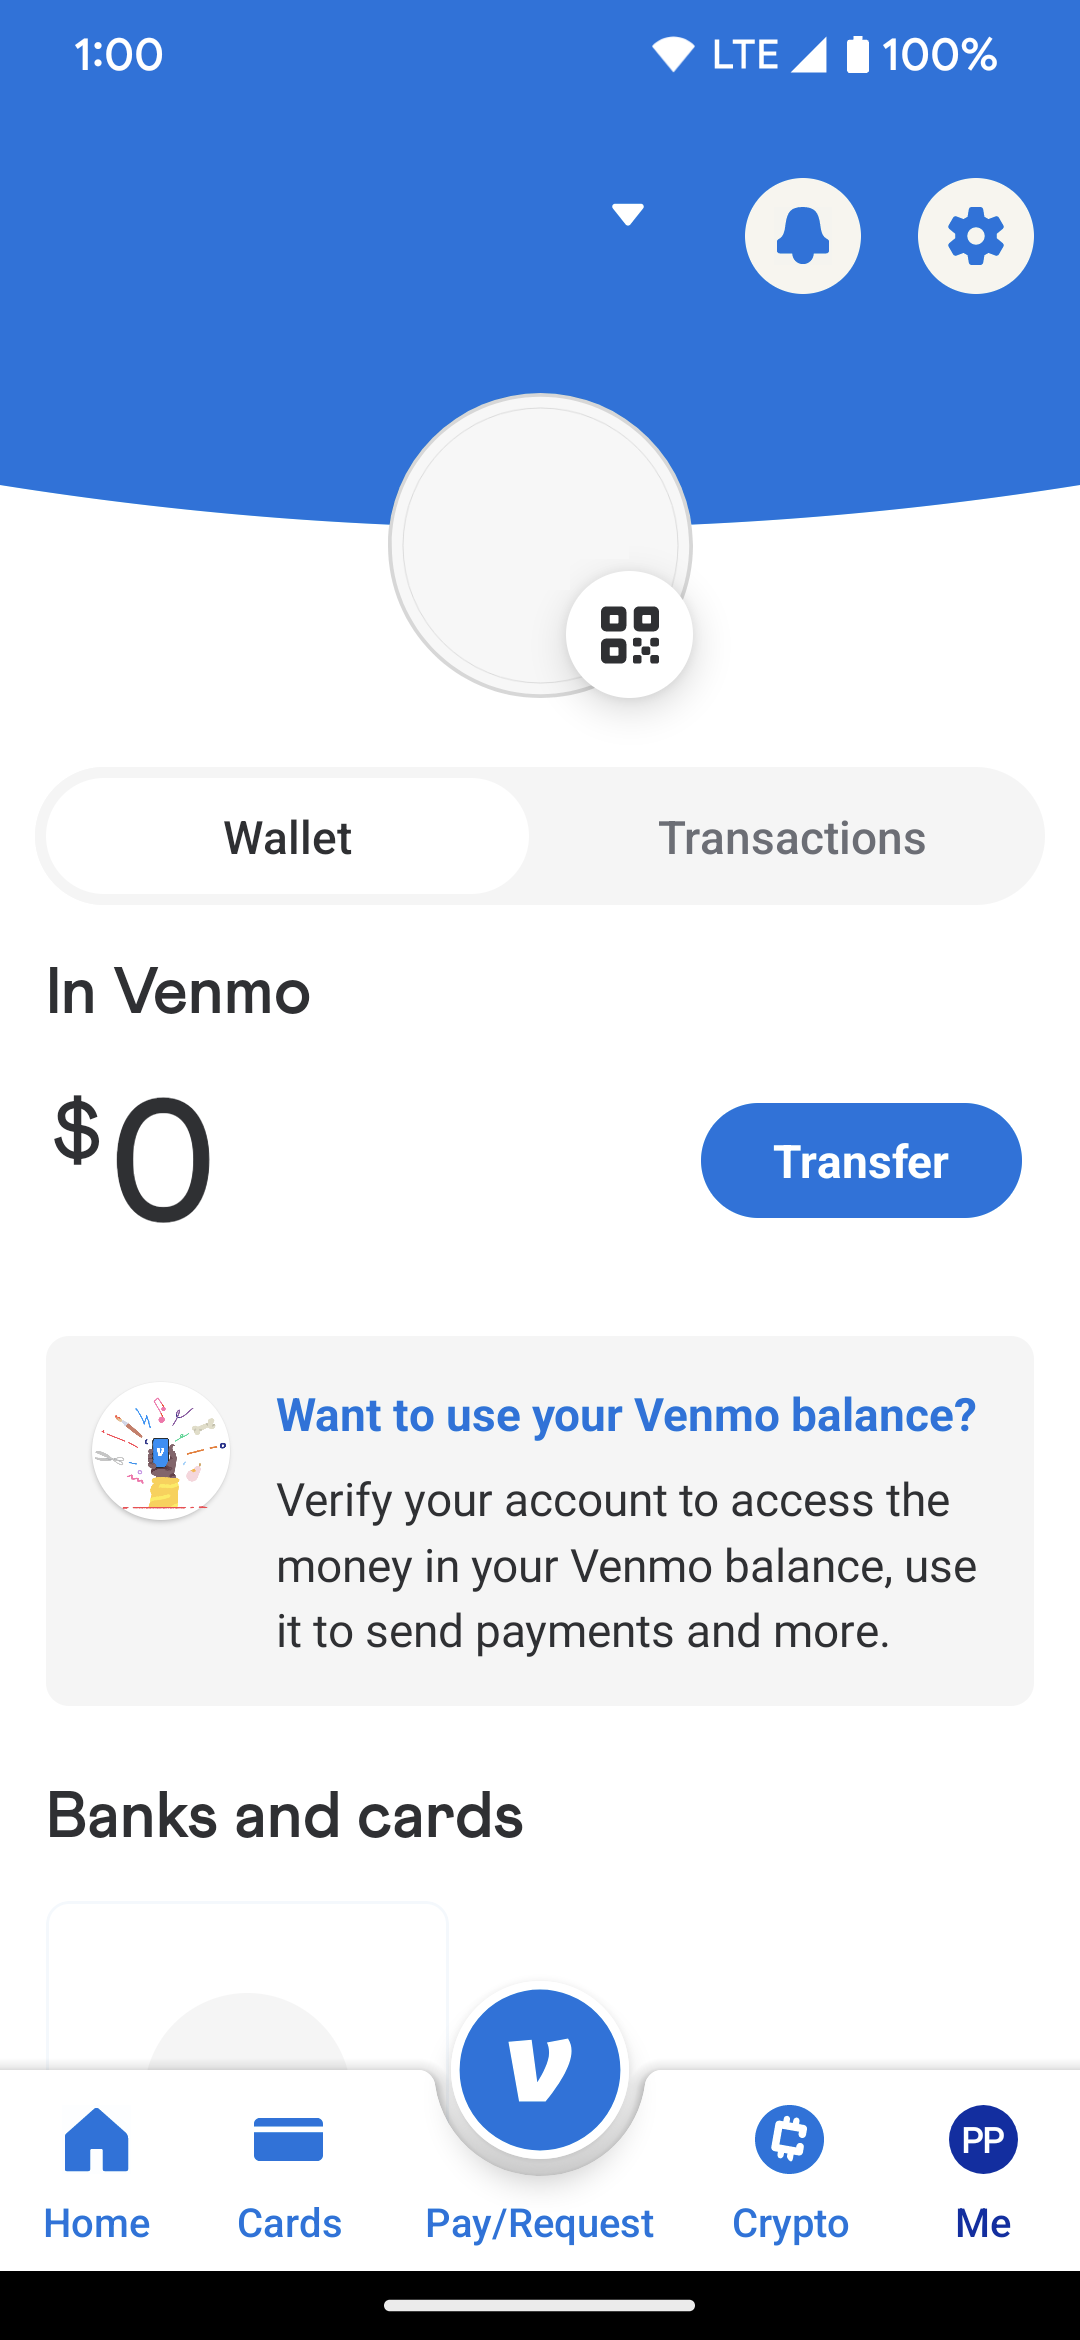
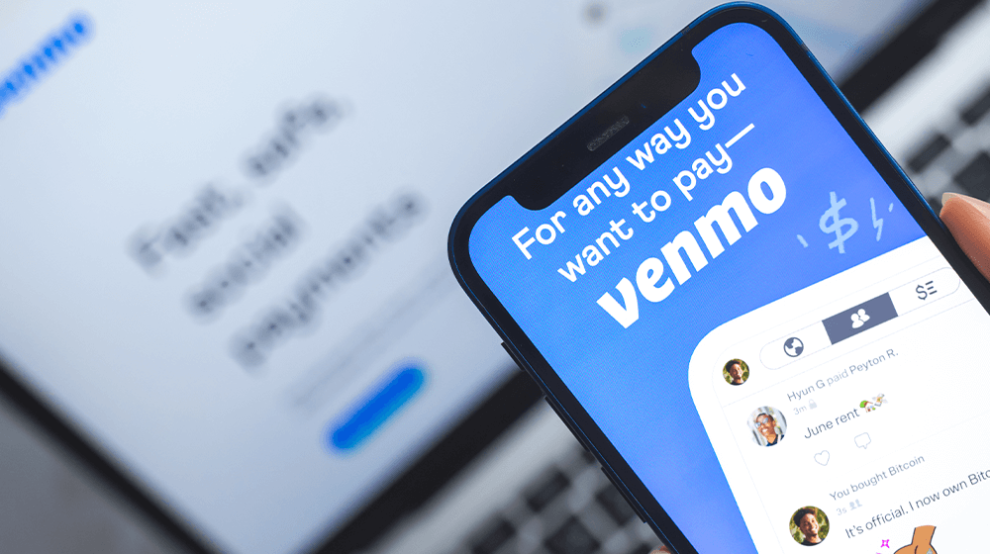
What is Venmo and Why Should You Use It?
The Benefits of Using Venmo:
- Hassle-Free Payments: Say goodbye to the awkwardness of carrying cash or forgetting your wallet. Venmo allows you to easily split bills, pay rent, or even cover that last-minute movie ticket – all from the convenience of your smartphone.
- Social Experience: Venmo adds a unique twist to money exchange by providing a social feed where you can see what your friends are spending money on (with privacy controls, of course).
- Enhanced Security: Venmo employs multiple security measures, including encryption and multi-factor authentication, to protect your financial information and transactions.
Eligibility Requirements for Opening a Venmo Account
Before we dive into the step-by-step process of opening a Venmo account, let’s ensure you meet the eligibility requirements:
- You must be a legal resident of the United States (including Puerto Rico).
- You must be at least 18 years of age.
- You need a valid Social Security number.
- You require a compatible smartphone with a US mobile number.
If you meet these criteria, you’re ready to embark on the journey of opening your Venmo account!
How to Open a Venmo Account: A Step-by-Step Guide
Opening a Venmo account is a straightforward process that can be completed in minutes. Follow these simple steps, and you’ll be ready to start sending and receiving money in no time:
Step 1: Download the Venmo App
Head to the App Store (for iOS devices) or Google Play Store (for Android devices) and search for “Venmo.” Download and install the app on your smartphone.
Step 2: Choose Your Sign-Up Method
Once you’ve opened the Venmo app, tap on “Sign Up.” You’ll have two options to choose from:
- Sign Up with Phone Number: Enter your valid US mobile number and tap “Next.” You’ll receive a verification code via SMS, which you’ll need to enter to proceed.
- Sign Up with Email: Enter your valid email address and create a secure password (at least 8 characters, including a mix of uppercase and lowercase letters, numbers, and symbols). Tap “Next.” You’ll receive a verification email with a link to activate your account.
Step 3: Create Your Profile
After verifying your contact information, you’ll be prompted to create your Venmo profile. Here’s what you’ll need to provide:
- Full Name: Enter your legal first and last name.
- Username: Choose a unique username that will help your friends find you on Venmo.
Step 4: Link Your Funding Source
To send money using Venmo, you’ll need to link a funding source. You have two options:
- Bank Account: Enter your bank account routing number and account number. Venmo will typically make two small deposits (less than $1) to your account, which you’ll need to verify to confirm ownership.
- Debit Card: Enter your debit card information (card number, expiration date, and CVV code).
Step 5: (Optional) Add Friends
Venmo allows you to find and add friends to your network. You can search for friends by username, phone number, or even sync your Facebook contacts (if you choose to connect your Facebook account).
Step 6: Start Using Venmo!
Congratulations! You’ve successfully opened your Venmo account and are ready to start sending and receiving money with friends, splitting bills, and even shopping at select online retailers that accept Venmo payments.

Venmo Security and Privacy: Best Practices
While Venmo offers convenience and social features, it’s essential to prioritize security and privacy when using the app. Here are some best practices to keep your Venmo account safe:
- Enable Two-Factor Authentication: Add an extra layer of security by requiring a code from your phone in addition to your password when logging in.
- Be Mindful of Public Transactions: Venmo transactions (including the amount and description) are visible to your friends by default. Consider using private notes for sensitive transactions.
- Avoid Sharing Personal Information: Never share your Venmo login credentials or verification codes with anyone.
- Monitor Your Account: Regularly review your transaction history to identify any unauthorized activity.
Advanced Features and Integrations
Venmo offers more than just basic money transfer capabilities. Here’s a glimpse into some of its advanced features and integrations:
Venmo for Businesses
While primarily known as a peer-to-peer payment platform, Venmo has expanded its offerings to cater to some business needs. Freelancers and small businesses can use Venmo to receive payments quickly and easily, although there are limitations and fees to consider.
Online Shopping Integration
A growing number of online retailers are integrating Venmo as a payment option, allowing you to complete purchases securely using your Venmo balance or linked bank account. Look for the Venmo logo during checkout at participating stores.
Personal Finance App Integration
Certain budgeting and expense tracking apps allow you to import your Venmo transactions, providing a holistic view of your finances and helping you stay on track with your financial goals.
Investment Platform Integration
Some investment platforms enable you to fund your account directly from your Venmo balance, offering more flexibility in managing your investments and eliminating the need for multiple transfers.
The Future of Venmo
Venmo is constantly evolving, and its future holds exciting possibilities. Potential areas of growth include international payments, cryptocurrency integration, and advanced security features. As technology advances, Venmo is likely to continue innovating and introducing new features to enhance the user experience further.
Conclusion
Opening a Venmo account is a straightforward process that unlocks a world of convenience and social money management. With its user-friendly interface, advanced security measures, and growing integration with other financial tools, Venmo has become a must-have app for anyone looking to simplify their finances. By following the step-by-step guide outlined in this blog post, you can easily set up your Venmo account and start taking advantage of its many benefits today.


Add Comment