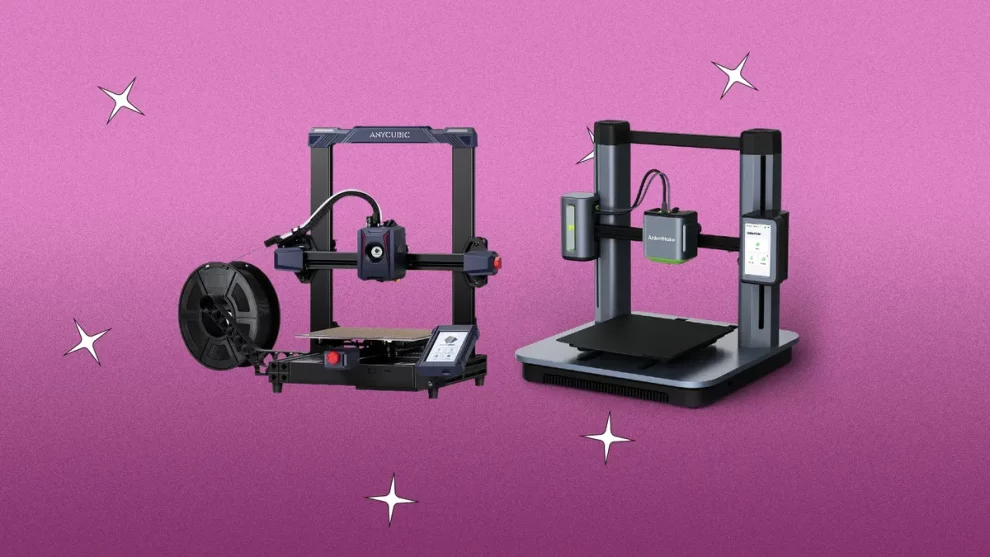
Getting perfect and consistent 3D prints requires more than just hitting “print.” You need to fine tune and calibrate your 3D printer to achieve the best results. Proper tuning helps improve first layer adhesion, print quality, accuracy, speed, and more.
In this guide, we’ll walk you through the key factors that influence print consistency and quality. We’ll also provide specific tips on bed leveling, temperatures, slicer settings, extruder and printer maintenance, and more. Follow these best practices to get smooth, accurate, professional-grade prints from your desktop 3D printer.
Step 1: Proper Printer Calibration and Leveling
The foundation for flawless prints is having your printer well calibrated. This ensures even filament extrusion and bed adhesion across the entire print surface area.
Bed Leveling
This is the most important calibration step. If your print bed is not perfectly level, you can face issues like:
- Inconsistent first layer squish and adhesion
- Parts not sticking properly in certain areas
- Curling or warping due to uneven contact with the nozzle
To correctly level your bed:
- Use the knobs under your print bed to raise or lower each corner
- Place a sheet of paper between the nozzle and bed. There should be slight friction when moving it around.
- Adjust height until an even scratching friction is felt across all corners.
- For precise results, use a feeler gauge and set a 0.1mm clearance.
- Consider an auto bed leveling probe for hands-free leveling before each print.
Nozzle Height
When leveling, the nozzle should be just close enough to lightly scratch a sheet of paper. This results in a very small gap – usually around 0.1mm. This close clearance ensures:
- Proper squishing and adhesion of the first extruded layer
- Minimum separation between layers for good inter-layer bonding
The nozzle height should be consistent at all points on the bed for even print quality across the entire platform.
Filament Tension
Consistent filament feeding is needed to maintain uniform flow and extrusion. Filament slack can cause under-extrusion. On the other hand, too much tension can grind the filament or strip the extruder gear.
To set proper tension:
- Press down the spring-loaded lever on the extruder
- Tighten or loosen the screw on the spool holder to adjust tension
- There should be enough drag on the filament without it getting stuck in the tube
Step 2: Dialing in Temperatures
Temperature settings impact how melted filament oozes from the nozzle and fuses to itself and the print bed. The optimal hot end and bed temperatures depend on the filament material. Most manufacturers provide temperature guidelines to start with.
Nozzle/Hot End Temperature
A too low hot end temperature can lead to:
- Weak inter-layer bonding
- Brittle and easily breakable parts
- More proneness to cracking and splitting
On the flip side, higher than needed temperatures result in oozing and stringing. Filament can start degrading at very high temperatures.
To dial in the optimal hot end temperature:
- Start with the minimum suggested temperature
- Increase in 5-10°C increments till optimal extrusion is observed
- Fine tune based on resulting print finish and adjustment needs
Heated Print Bed Temperature
PLA prints fine at room temperature. But materials like ABS require a heated bed to prevent warping and improve first layer adhesion. Typical temperatures range from 50-110°C based on material.
Benefits of an optimally heated bed include:
- Better hold of those critical first layers
- More even cooling and reduced uneven shrinkage
- Lower risk of detachment, curling, and model deformation
Start on the lower end of the recommended temperature range and adjust upwards as needed.
Step 3: Slicer Settings
Slicer software processes 3D models into printer-readable GCode instructions. The slicer parameters have a huge impact on the final print result. Even the same model can produce vastly different prints based on the settings used.
Here are some of the most influential slicer settings to fine tune for consistent, quality 3D prints.
Layer Height
This defines the thickness of each vertically stacked layer. Typical layer heights range from 0.05mm (high detail) to 0.3mm (low detail).
Benefits of smaller layer heights:
- Ability to create very smooth surfaces
- Crisp reproduction of intricate details
- Great dimensional accuracy for precision fits
Drawbacks include longer print times and higher risk of layer separation with tricky geometry.
As a starting point, use 0.1-0.2mm for medium quality prints. Decrease layer height for a smooth finish, or increase for draft prints.
Infill
Infill refers to the interior lattice-like structure beneath the outer walls. It greatly affects strength vs print time.
Some key considerations related to infill include:
- Infill Percentage – Values typically range from 10% to 40%. Higher infill densities improve strength but also increase weight and print time.
- Infill Pattern – Common options are grids, triangles, hexagons, etc. Choose based on a balance of print time, strength and surface finish needs.
- Top/Bottom Layers – Solid layers that protect the infill pattern within. For structural integrity, 4-6 layers are generally recommended.
Dial in just enough infill density and top/bottom layers needed for your application.
Print Speed
Faster print speeds help cut down total print time. But moving too quickly reduces material adherence and overall quality.
Finding the optimal speed is a matter of balancing productivity vs quality needs:
- Lower speeds around 40-60 mm/sec yield best quality
- Moderate speeds in the 80-100 mm/sec work well for general use
- Higher speeds up to 150 mm/sec for quick draft prints
Keep in mind that optimal speed depends on factors like layer height, nozzle diameter, filament material etc. Retraction speed also needs optimization (see below).
Cooling
Cooling is critical for good overhangs and bridges in a print. The cooling fan speed setting controls part cooling between layers.
Insufficient cooling leads to:
- Noticeable “blobbing” around overhangs
- Layers sagging or fused together
- Deformed edges
Cooling needs vary based on filament properties and the 3D geometry. Bigger overhangs or complex shapes require more focused cooling over problem regions.
Gauge optimal fan speeds between 0-100% based on print tests. Adjust directional ducting as well for anatomy-specific cooling.
Retraction
This function counteracts oozing and stringing during travel moves. It rapidly draws back the melted filament during nozzle transitions between different print regions.
Typical retraction settings are:
- Retraction Distance: 4-8mm
- Retraction Speed: 25-50 mm/sec
Start low and progressively increase distances/speeds till stringing and oozing is minimized.
Step 4: Additional Printer Maintenance and Tuning
Besides key calibration and slicer settings, general printer maintenance also ensures everything is running smoothly.
Calibrate Extruder E-Steps
The extruder mechanism needs to turn filament into consistent liquid plastic extrusion. E-step calibration is done to match actual filament extrusion amounts to digitally set values.
To calibrate e-steps:
- Mark filament 120mm from extruder
- Set extruder to advance 100mm filament
- If extruded length ≠ 100mm, adjust e-steps per calculations
- Repeat with fine increments until extruded length matches set value
Nozzle Maintenance
It’s amazing what a bit of dust or residue in the nozzle can do to print quality. Make it a habit to periodically:
- Inspect and clean the nozzle tip with fine wire brushes
- Clear out blockages by “cold pulling” stuck filament
- Replace nozzle completely if needed after wear
Use Quality Filament
Low grade filament with lots of impurities can wreck havoc on your printer. Look for:
- Reputable brand with purity guarantees
- Uniform diameter with very little ovality
- Properly vacuum sealed with desiccant packs
Store spools in a dry box to prevent moisture absorption over time.
General Component Maintenance
The daily wear and tear on printer parts calls for periodic maintenance, including steps like:
- Clean/lubricate lead screws and linear rails
- Inspect belt tensions and pulley alignment
- Check wiring for damage; Reflow loose solder joints
Follow the manufacturer’s component cleaning and lubrication guidelines to keep everything functioning like new.
Further Refinement Through Experiments
With various interdependent settings across hardware and software, 3D printing requires quite a bit of experimentation. As you evaluate different slicer setting values and temperature ranges, keep track of how each incremental change impacts actual print quality, accuracy and speed.
Don’t hesitate to tweak the numbers gradually till you zero in on the “sweet spot”. These could be settings like:
- Slightly higher hot end or bed temperature
- Minutely adjusted retraction distance
- Marginally slower print speed for crisper edges
Treat every print as a lesson – examine layer textures, corners, bridges etc. and adjust parameters to incrementally enhance future prints. With time and experience, you will learn how to achieve truly professional prints.
Useful 3D Printing Resources
Looking for more tips on calibration, slicing, troubleshooting, upgrades and best practices? Be sure to check out these exceptional resources:
- Teaching Tech YouTube Channel: Great visual tutorials on 3D printer calibration, maintenance, mods etc. Visit at https://www.youtube.com/channel/UCbgBDBrwsikmtoLqtpc59Bw
- All3DP: Comprehensive site covering 3D printing news, reviews, troubleshooting, tips and more. Check them out at: https://all3dp.com
- Maker’s Muse YouTube Channel: Another awesome channel for in-depth 3D printing guides, sample projects and product reviews. Visit: https://www.youtube.com/user/TheMakersMuse
Armed with the basics covered here and insights from leading 3D printing experts, you are now ready to achieve consistent, professional-grade prints tailored to your unique needs!


Add Comment