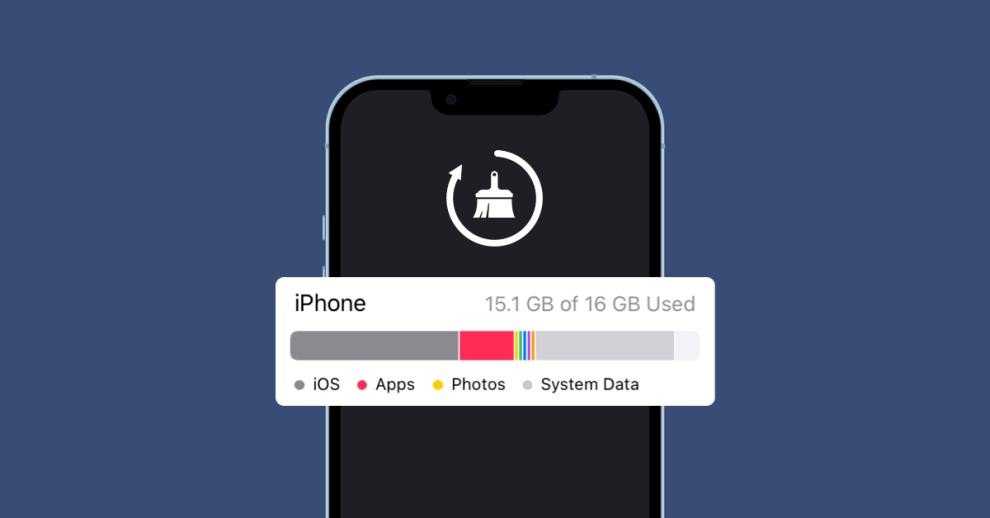
Is your iPhone overflowing with photos, apps, and data? We’ve all been there. As our iPhones become extensions of ourselves, they accumulate a digital footprint. But what happens when that footprint becomes a burden? Luckily, there’s a way to declutter your digital life and reclaim precious storage space: deleting everything on your iPhone.
This guide will equip you with the knowledge to completely erase your iPhone, also known as a factory reset. We’ll delve into the “how-to” steps, explore different methods, and answer crucial questions to ensure you make an informed decision.
Why Delete Everything on Your iPhone?
There are several compelling reasons to consider a complete wipe-out:
- Free Up Storage: Is your iPhone constantly nagging you about low storage? Deleting everything is a drastic but effective solution, wiping all data and freeing up significant space for a fresh start.
- Resolve Performance Issues: Over time, iPhones can accumulate temporary files and data that can contribute to sluggish performance. A clean slate can breathe new life into your device.
- Prepare for Sale or Trade-In: Before parting ways with your iPhone, erasing all personal data ensures your privacy and protects sensitive information.
- Fix Software Glitches: Sometimes, a complete reset can resolve stubborn software issues that traditional troubleshooting methods can’t fix.
Before You Begin: The Importance of Backups
Crucially important: Wiping your iPhone is a permanent action. All your data, apps, photos, and settings will be erased. Always, always back up your iPhone before proceeding. Here are your backup options:
- iCloud Backup: This cloud-based backup solution stores your iPhone data securely on Apple’s servers.
- Backup to Mac or PC: Connect your iPhone to your computer and use iTunes or Finder to create a local backup.
Once you’ve secured your precious data, let’s dive into the methods for deleting everything on your iPhone.
Method 1: Using Settings – A Straightforward Approach
This method utilizes the built-in settings app on your iPhone and is suitable for most users. Here’s a step-by-step breakdown:
- Navigate to Settings: Open the Settings app on your iPhone’s home screen.
- Locate “General”: Scroll down and tap on “General.”
- Find the Reset Option: Towards the bottom of the General menu, look for the “Reset” option and tap on it.
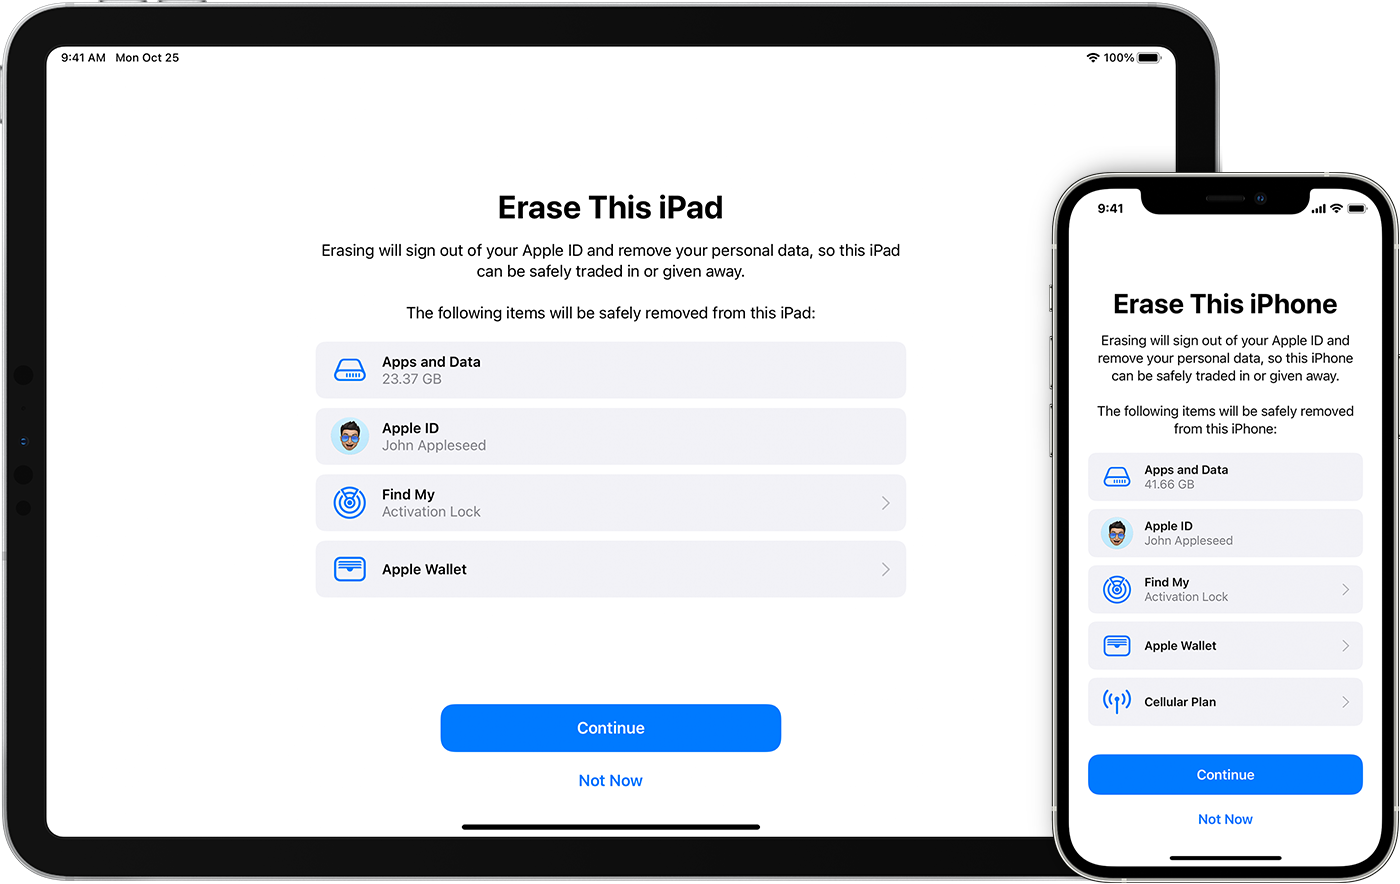
- Choose “Erase All Content and Settings”: A list of reset options will appear. Select “Erase All Content and Settings” for a complete wipeout.
- Enter Your Passcode: You’ll be prompted to enter your iPhone passcode for confirmation.
Method 2: Using iTunes/Finder – Ideal for Computer Users
If you prefer using your computer, you can erase your iPhone using iTunes (Windows) or Finder (Mac). Here’s how:
For Windows Users:
- Launch iTunes: Ensure you have the latest version of iTunes installed on your Windows PC.
- Connect Your iPhone: Using a USB cable, connect your iPhone to your computer.
- Trust the Connection: Authorize the connection on your iPhone if prompted.
- Locate Your iPhone: In iTunes, your iPhone should appear in the left-hand sidebar. Click on it to select it.
- Restore Option: Click on the “Restore” button in the Summary section of the iPhone information panel.
For Mac Users:
- Open Finder: On your Mac, launch the Finder application.
- Connect Your iPhone: Similar to Windows, connect your iPhone to your Mac using a USB cable.
- Trust the Connection: Authorize the connection on your iPhone if prompted.
- Locate Your iPhone: In Finder, your iPhone should appear in the sidebar under Locations. Click on it.
- General Tab: Click on the “General” tab in the iPhone information window.
What Happens During the Wiping Process?
Once you confirm the deletion on either method, your iPhone will begin the process of erasing all data. This can take several minutes depending on the amount of data stored on your device. The screen will likely go dark or display a progress bar during this time.
Once the Wipe is Complete:
After the process is finished, your iPhone will restart and display the initial setup screen, just like when you first took it out of the box. You will then have the option to restore from a backup or set it up as a new device.
Important Considerations:
- Network Connection: It’s recommended to have a stable Wi-Fi connection available during the wiping process, especially if you plan to restore from an iCloud backup afterward.
- Charging: Ensure your iPhone has sufficient battery life (ideally above 50%) before initiating the wipe to avoid any interruptions during the process.
- Find My iPhone: If you have “Find My iPhone” enabled, you’ll need to disable it before deleting everything on your iPhone.

Beyond Wiping: Alternative Solutions for Storage Management
While deleting everything is a nuclear option for freeing up storage, there might be less drastic solutions depending on your situation. Here are some alternatives to consider:
- Offload Unused Apps: This feature allows you to free up storage space by automatically removing an app while keeping its documents and data intact.
- Review iCloud Storage: If your iCloud storage is full, consider optimizing photos and videos or upgrading your storage plan to free up space on your iPhone.
- Delete Large Files and Media: Manually review your photos, videos, and downloaded files to identify and remove any unnecessary items consuming significant storage space.
The Bottom Line: Taking Control of Your iPhone Storage
Deciding to delete everything on your iPhone is a significant step. By understanding the process, potential drawbacks, and alternative solutions, you can make an informed choice that best suits your needs. Remember, a well-maintained iPhone with optimized storage not only offers a smoother user experience but also ensures your data remains protected.


Add Comment