Considering giving your trusty Windows 7 machine a fresh start? Whether you’re preparing it for a new owner, upgrading to a newer OS, or just seeking a clutter-free digital slate, wiping your Windows 7 drive clean is a critical step. This comprehensive guide will equip you with the knowledge to erase everything on your Windows 7, guiding you through various methods to achieve a spotless system.
Why Wipe Your Windows 7 Drive?
Wiping your drive is essential for several reasons:
- Selling or Donating Your Computer: This ensures that your personal data does not fall into the wrong hands and provides a clean system for the new owner.
- Persistent Issues: A clean install can often resolve performance issues or software conflicts, rejuvenating your old system.
- Upgrading to a New OS: A clean slate is ideal for installing a newer operating system like Windows 10 or 11.
- Enhanced Security: Completely wiping the drive eliminates any lingering data and potential security vulnerabilities.
Understanding Wiping Methods in Windows 7
Before proceeding, it’s essential to understand the different approaches to wiping your Windows 7 drive:
- Formatting: Quick but does not securely erase data, making it potentially recoverable with special tools.
- Data Overwriting: Writes random data over the entire drive, significantly reducing the possibility of data recovery.
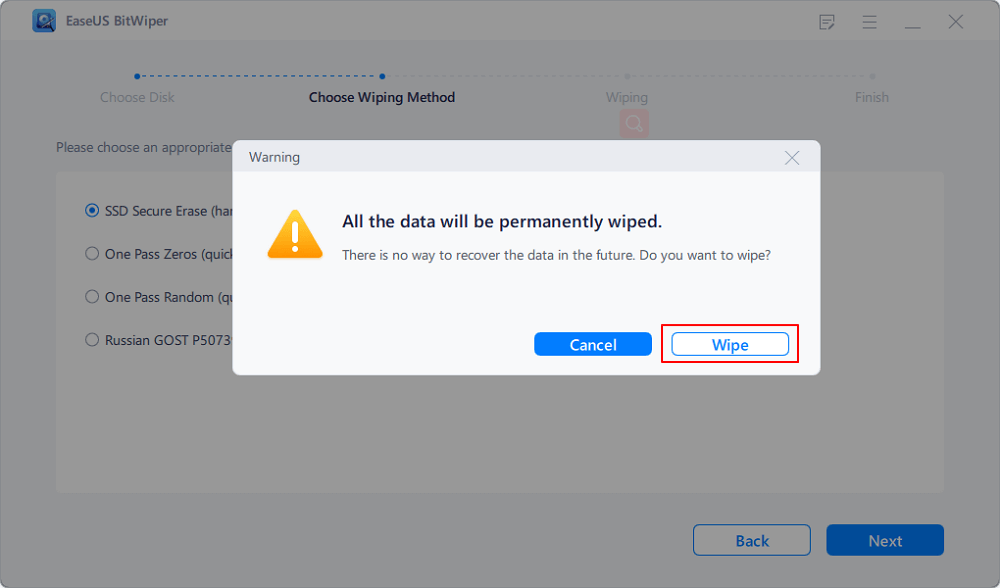
- Third-Party Wiping Tools: These applications often provide robust features such as multi-pass overwriting and secure erase functionalities.
Method 1: Wiping Your Drive with Built-in Tools (Formatting)
Here’s how to use Windows 7’s built-in Disk Management tool for a basic wipe:
- Backup Important Data: Ensure all critical data is backed up elsewhere.
- Access Disk Management: Use “Windows Key + R” to open the Run dialog, type “diskmgmt.msc”, and press Enter.
- Locate and Format Your Drive: Right-click on the drive you wish to wipe and select “Format”. Choose your formatting options and start the process.
Note: This method is not recommended if you need to securely erase sensitive data, as it may still be recoverable.
Method 2: Wiping Your Windows 7 Drive with Data Overwriting
For a more secure wipe:
- Create a Bootable USB Drive: Use a tool like Rufus to create a bootable USB drive with a Linux distribution that includes disk wiping utilities, such as DBAN.
- Boot from USB: Restart your PC and boot from the USB drive.
- Use a Wiping Tool: Follow the on-screen instructions to wipe the drive using the tool provided in the Linux environment.
This method is more secure than formatting, as it ensures the data on your drive is unrecoverable.

Method 3: Using Third-Party Wiping Tools for Enhanced Security
For those who prefer a user-friendly interface with additional features:
- Select a Reliable Tool: Choose a well-reviewed tool like DBAN or Eraser.
- Download and Create Bootable Media: Often, these tools require booting from a CD or USB drive.
- Wipe the Drive: Boot using the media you created and follow the instructions to securely wipe your drive.
These tools often offer various wiping standards, including DoD 5220.22-M, ensuring a high level of security.
Conclusion: Ensuring a Clean and Secure System
Wiping your Windows 7 drive is a powerful way to protect your privacy and improve your system’s performance. Whether you opt for a quick format, a secure wipe with specialized software, or the thoroughness of a third-party tool, each method provides different levels of security and convenience. Remember, once the data is wiped, it cannot be recovered, so always back up important information before proceeding. With your drive wiped clean, your Windows 7 machine is ready for whatever comes next, be it a new owner, a fresh operating system, or just a cleaner, leaner operation.









Add Comment