Apple regularly releases new versions of macOS, bringing exciting features, performance improvements, and security enhancements. Upgrading to the latest macOS version can significantly enhance your overall user experience. This comprehensive guide will walk you through the steps involved in upgrading to the latest macOS and provide essential tips for a smooth transition.
Checking for Updates
pple typically releases updates every few months, so it’s a good idea to check for updates at least once a month. By keeping your macOS system up-to-date, you can help ensure that it is secure, stable, and running at its best.
- App Store: The easiest way to check for updates is through the App Store. Open the App Store and click on the “Updates” tab. If a macOS update is available, it will be listed there.
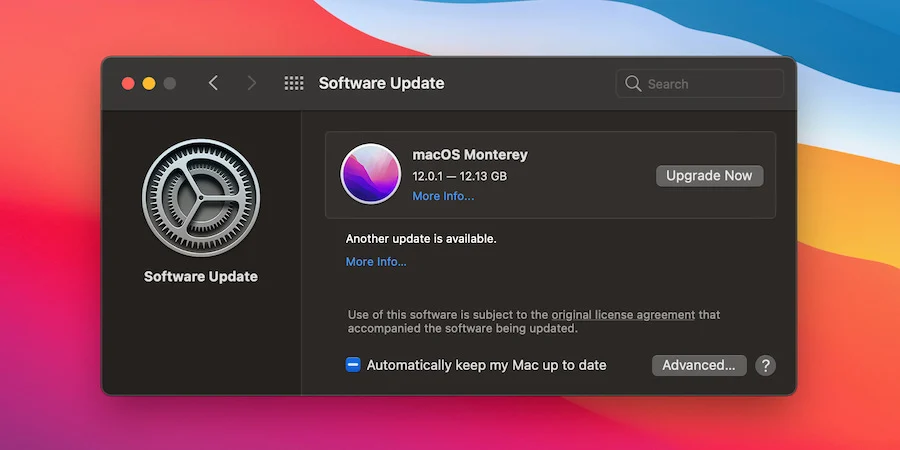
- System Preferences: You can also check for updates by going to System Preferences > Software Update.
Preparing for the Upgrade
Before installing an update, it’s recommended to back up your data. This will help protect your files in case something goes wrong during the update process. You can use Time Machine or another backup method to create a backup.
Backup Your Data: Before upgrading, it’s crucial to create a backup of your important files. You can use Time Machine or other backup solutions to ensure your data is safe.
Check System Requirements: Ensure that your Mac meets the minimum system requirements for the latest macOS version. This information can be found on Apple’s website.
Free Up Storage Space: Make sure you have sufficient storage space on your Mac to accommodate the macOS update and any additional files.

Downloading and Installing the Update
- Click “Update”: If an update is available, click the “Update” button in the App Store or System Preferences.
- Download the Update: The update will start downloading. The download time may vary depending on your internet connection speed.
- Restart Your Mac: After the update is downloaded, your Mac will prompt you to restart.
Troubleshooting Installation Issues
Insufficient Storage: If you encounter insufficient storage space, free up some space by deleting unnecessary files or using cloud storage.
Internet Connectivity: Ensure you have a stable internet connection for the download to complete successfully.
Installation Errors: If the installation fails, try restarting your Mac and retrying the update. If the issue persists, you may need to create a bootable installer from the Recovery HD.
Post-Update Verification
Check for New Features: Explore the new features and improvements introduced in the latest macOS version.
Test Applications: Verify that your favorite apps are compatible with the new macOS version and work as expected.
Check for Updates: Ensure that your apps are updated to the latest versions to take advantage of the new macOS features.
Keep Your Mac Updated: Regularly check for updates to ensure your Mac is running the latest version of macOS and security patches.
Use Time Machine: Back up your Mac regularly using Time Machine to protect your data in case of any issues.
Optimize Your Mac: Keep your Mac running smoothly by regularly cleaning up junk files, optimizing storage, and managing background processes.
Upgrading to the latest macOS version can provide significant benefits, including new features, performance improvements, and enhanced security. By following the steps outlined in this guide and addressing any potential issues, you can ensure a smooth and successful upgrade process.


Add Comment