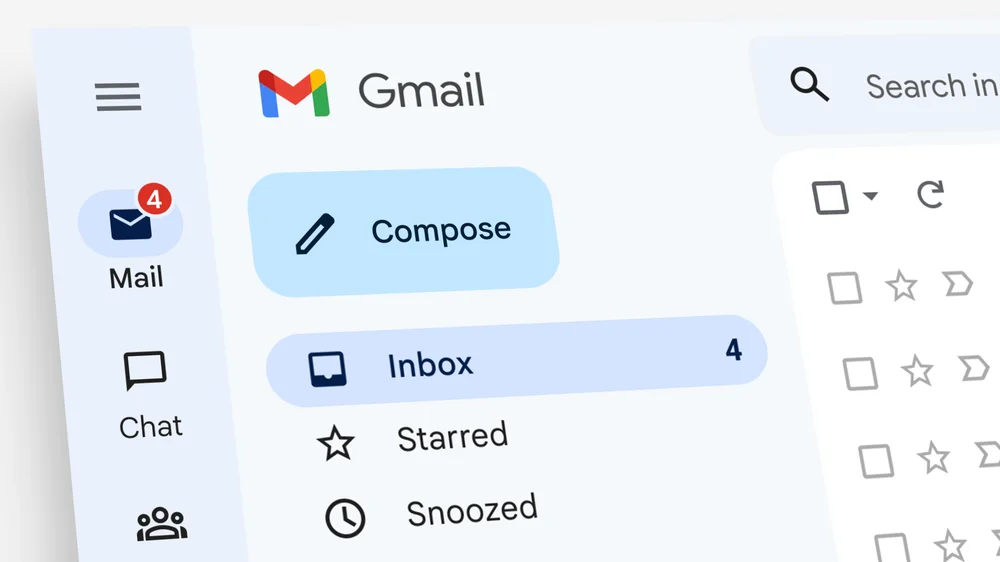
Drowning in a sea of emails? Do you find yourself constantly fighting the urge to hit “select all” and delete everything in a fit of frustration? If you’ve accumulated a staggering 10,000 emails in your Gmail inbox, you’re not alone. But fear not, fellow email warrior! This comprehensive guide will equip you with the knowledge and strategies to conquer that inbox and reclaim your sanity.
Throughout this article, we’ll explore various methods for deleting 10,000 emails in Gmail, answer frequently asked questions, and provide tips for managing your inbox effectively. We’ll keep the tone conversational and friendly, ensuring you have all the information you need to become a Gmail master.
Why Delete 10,000 Emails in Gmail?
Before we dive into deletion strategies, let’s address the “why.” Having an overflowing inbox can have significant consequences, and there are several compelling reasons to tackle those 10,000 emails:
- Improved Performance: A cluttered inbox can slow down Gmail’s performance. Deleting unnecessary emails frees up storage space and allows Gmail to function more efficiently.
- Enhanced Search Functionality: With fewer emails hogging the space, searching for specific messages becomes significantly faster and more accurate.
- Reduced Stress and Anxiety: An overflowing inbox can be a constant source of stress and overwhelm. Clearing it out creates a sense of organization and control, promoting a calmer digital environment.
- Increased Productivity: Less time spent wading through irrelevant emails translates to more time focusing on important tasks and boosting your overall productivity.

Conquering 10,000 Emails: Various Deletion Methods
Here’s the good news: Gmail offers several methods for deleting large volumes of emails. We’ll explore three effective approaches:
Method 1: Utilizing Search Operators
Gmail’s search function is a powerful tool for identifying and deleting specific emails. Here’s how to leverage it:
- Search by Date: Use the
older_than:x daysoperator. Replace “x” with the desired number of days (e.g.,older_than:365 daysfor emails older than a year). This surfaces emails that are prime candidates for deletion. - Search by Sender/Recipient: Utilize the
from:sender_emailorto:recipient_emailoperators to target emails from specific senders or recipients. This is ideal for mass-deleting emails from newsletters or unwanted contacts. - Combine Operators for Precision: For even more granular control, combine search operators. For instance,
from:retailer_x older_than:2 yearsfinds emails from a particular retailer older than two years.
Pro Tip: After using a search operator, don’t forget to select “Select all conversations in [current view] before hitting delete. This ensures you’re deleting all emails matching your criteria, not just those on the first page.
Method 2: Leveraging Labels and Filters
Gmail’s labels and filters allow you to organize and delete emails efficiently. Here’s how to put them to work:
- Create a Label for Deletion: Establish a label specifically for emails you intend to delete. This allows you to easily identify and manage them.
- Set Up Filters for Automatic Deletion: Filters can automatically apply labels to emails based on specific criteria. For example, create a filter to label all emails from a particular sender with your “Delete This” label. Subsequently, you can delete all emails within that label in one go.
Method 3: Taking Advantage of Third-Party Tools
While not essential, some third-party browser extensions and desktop applications can simplify bulk email deletion in Gmail. These tools often offer advanced filtering and deletion functionalities. However, proceed with caution and ensure you trust the source before granting any third-party application access to your Gmail account.
Frequently Asked Questions (FAQs) About Deleting 10,000 Emails in Gmail
Q: Will Deleting 10,000 Emails Affect My Gmail Account?
A: Deleting emails won’t harm your Gmail account. However, keep in mind that deleted emails reside in the trash for 30 days before permanent deletion.
Q: Is There a Way to Recover Emails After They’ve Been Deleted?
A: Within the 30-day grace period, you can recover emails from the trash. However, after permanent deletion, recovery becomes extremely difficult, if not impossible.
Q: What Should I Do With Important Emails Before Deleting Them?
A: If you have crucial emails within the 10,000 you intend to delete, consider archiving them instead. Archiving removes emails from your inbox but preserves them for future reference or potential retrieval.
Advanced Techniques and Best Practices
Having explored fundamental deletion methods, let’s delve into some advanced techniques and best practices to help you strategically tackle 10,000 emails in Gmail:
Gradual Deletion vs. Batch Deletion
The sheer volume of 10,000 emails might be daunting. Here are two approaches to consider:
- Gradual Deletion: This method involves dedicating smaller chunks of time over several days or weeks. Start by deleting a manageable number of emails each session, focusing on specific categories like old social media notifications or expired marketing promotions.
- Batch Deletion: If you prefer a more concentrated effort, schedule a dedicated time slot for a focused deletion blitz. Utilize search operators, filters, and labels to identify large batches for deletion.
Prioritizing Deletion for Maximum Impact
Not all emails are created equal. Here are some prioritization strategies to optimize your deletion efforts:
- Start with Inactive Labels: Focus on labels containing emails you no longer use, such as old social media subscriptions or outdated forums.
- Target Large Emails with Attachments: Prioritize deleting emails with large attachments, as they often occupy significant storage space.
- Eliminate Old Newsletters and Promotions: Unsubscribe from unwanted email lists and delete past promotional emails you no longer need.
Advanced Search Operator Tips and Tricks
Gmail’s search operators offer a treasure trove of possibilities for targeted deletion. Here are some additional tips:
- Wildcard Operator (*): Use the asterisk (*) as a wildcard to match anycharacters within a search term. For example,
from:faceb*targets emails from any Facebook address (Facebook, Facebook Messenger, etc.). - Combining Operators with AND/OR: Utilize the AND and OR operators for even more precise searches. For instance,
from:socialmedia AND older_than:1 yearfinds emails from social media platforms older than a year. - Negative Search Operator (-): The minus sign (-) excludes emails containing specific keywords. For example,
from:Netflix -promotionaltargets emails from Netflix excluding promotional offers.
Automating Deletion with Filters
Filters are powerful tools for setting up automated deletion workflows. Here’s how to leverage them effectively:
- Filter by Label: Create a filter that automatically applies a “Delete This” label to emails matching specific criteria. This allows you to periodically review and delete emails within that label.
- Filter by Age: Set up a filter to automatically archive or delete emails older than a specific timeframe. This helps prevent your inbox from becoming overloaded again.
Keeping Your Inbox Under Control: Long-Term Strategies
Once you’ve conquered the 10,000 email mountain, here are some strategies to prevent it from building up again:
- Unsubscribe Mercilessly: Ruthlessly unsubscribe from email lists you no longer engage with. Many emails offer unsubscribe options directly within the message.
- Utilize Folders and Labels: Organize your inbox with folders and labels. This keeps emails categorized and simplifies future deletion efforts.
- Enable Automatic Deletion: Explore Gmail’s auto-deletion settings. You can set emails from specific senders or older than a certain age to be automatically deleted.
Mastering Your Gmail Inbox: A Worthwhile Journey
By following these strategies and embracing the power of search operators, filters, and labels, you’ve transformed yourself from a drowning email victim into a conquering Gmail master. Remember, staying on top of your inbox requires ongoing vigilance.
Regularly review your emails, unsubscribe from unnecessary lists, and leverage automation tools to maintain a clean and organized inbox. This not only boosts your productivity but also cultivates a sense of digital tranquility, freeing your mind from the constant barrage of cluttered communication.
Congratulations! You’ve reclaimed control of your digital space and can now enjoy the peace of mind that comes with a clutter-free inbox. Now, go forth and conquer your digital world with the mindset of a true Gmail master!


Add Comment